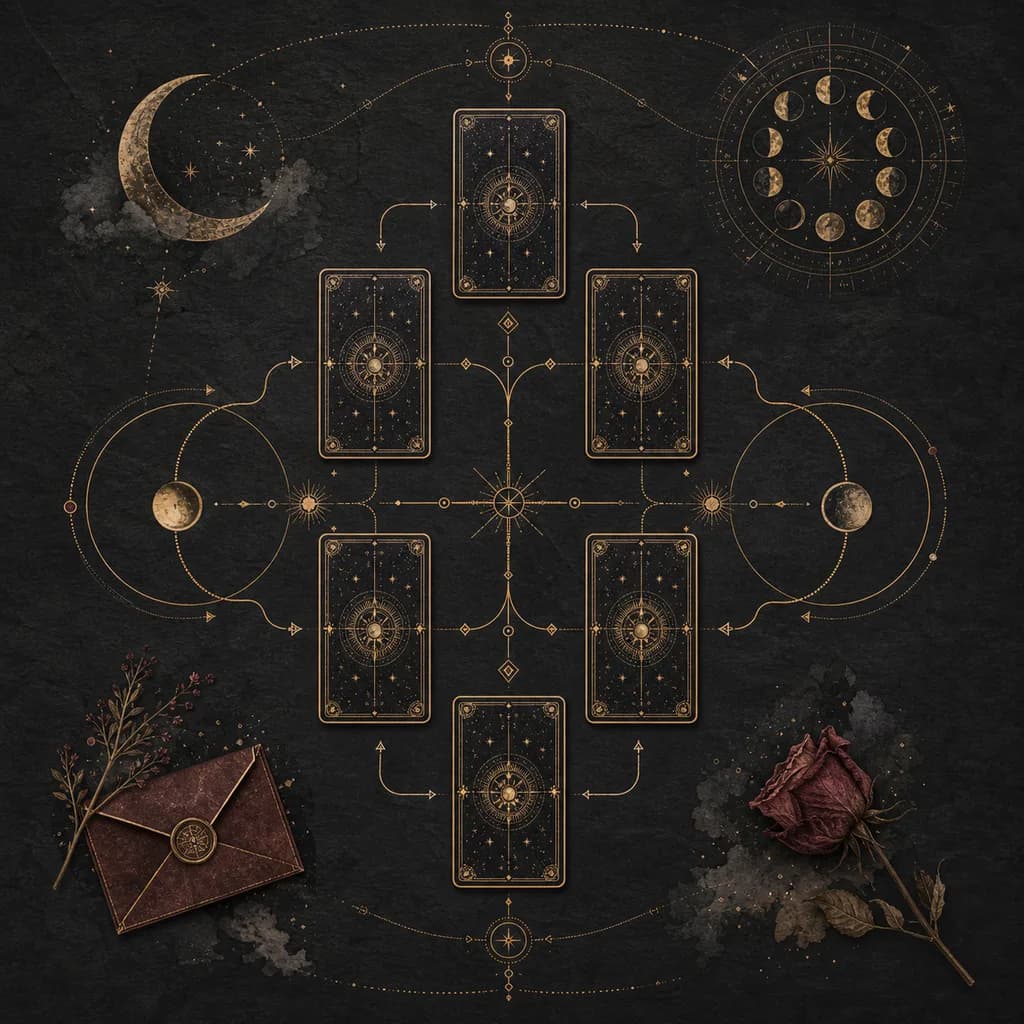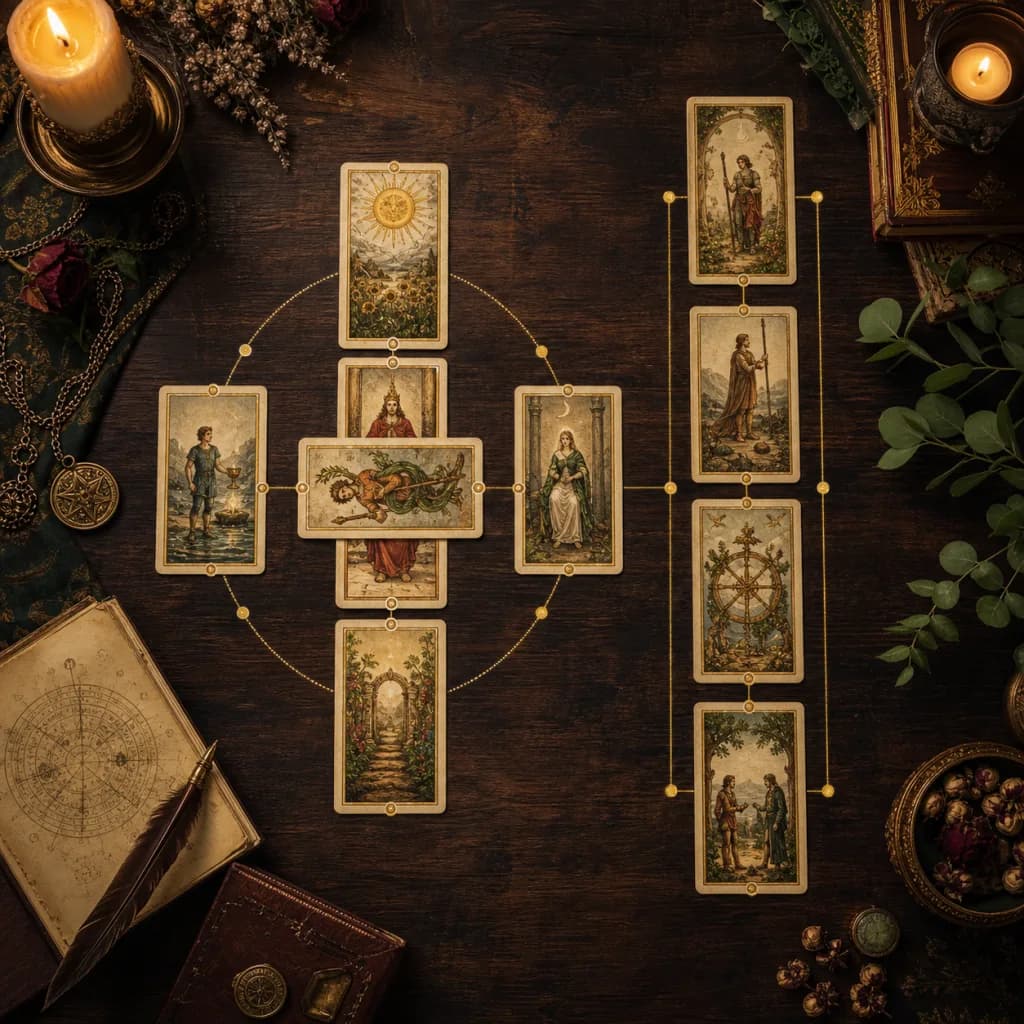
The Celtic Cross is the spread everyone has heard of and almost no one reads well. Open ten tarot books and you'll get ten slightly different position lists, the same vague advice about "interpretation," and almost nothing about the spread's actual origin — which is much more recent and much less Celtic than the name suggests.
This guide does three things differently. First, it tells the truth about where the spread actually comes from (London, 1909, not pre-Christian Ireland). Second, it walks through all ten positions in the order most commonly used today, while being honest about which positions are disputed and how the order changes the reading. Third, it argues that the position most readers gloss over — Hopes and Fears — is actually the key to the whole spread, and shows how to use it that way.
If you've ever pulled a Celtic Cross, stared at the layout, and thought "OK, now what," this guide is for you.
Table of Contents
- What the Celtic Cross Actually Is (And Isn't)
- The Structure: Cross and Staff
- How to Lay the Cards
- The Ten Positions in Order
- Why Position 9 (Hopes & Fears) Is the Real Key
- The Disputed Positions: 3, 5, and 6
- How to Actually Read the Spread
- When Not to Use the Celtic Cross
- Common Mistakes
- Frequently Asked Questions
What the Celtic Cross Actually Is (And Isn't)
A short history correction, because almost everyone gets this wrong.
The Celtic Cross spread is not an ancient Druidic practice. It was first published in 1909 — though some sources cite the 1911 edition more commonly — by Arthur Edward Waite in The Pictorial Key to the Tarot, where he called it "An Ancient Celtic Method of Divination." That phrase is marketing, not history. Waite was a member of the Hermetic Order of the Golden Dawn, a late-Victorian London esoteric society, and the spread emerged from that milieu — late 19th-century occult revival, not pre-Christian Ireland.
Even the name "Celtic Cross" — the ringed stone cross now associated with Ireland — was itself a 19th-century antiquarian label for medieval Irish high crosses. Waite borrowed that imagery deliberately, partly to give his spread a sense of spiritual lineage, and partly to distance English-speaking tarot from the earlier French tradition (Etteilla and others), which had cloaked tarot in invented Egyptian origins.
Why does this matter? Because once you know the Celtic Cross is a designed system — not a sacred inheritance — you stop treating its position list as fixed scripture and start treating it as a tool you can adapt. Which is what every serious reader actually does.
This isn't a debunking. The Celtic Cross has earned its century-plus run by being genuinely good at what it does. But it deserves to be respected as a craft object, not mythologized as something it isn't.
The Structure: Cross and Staff
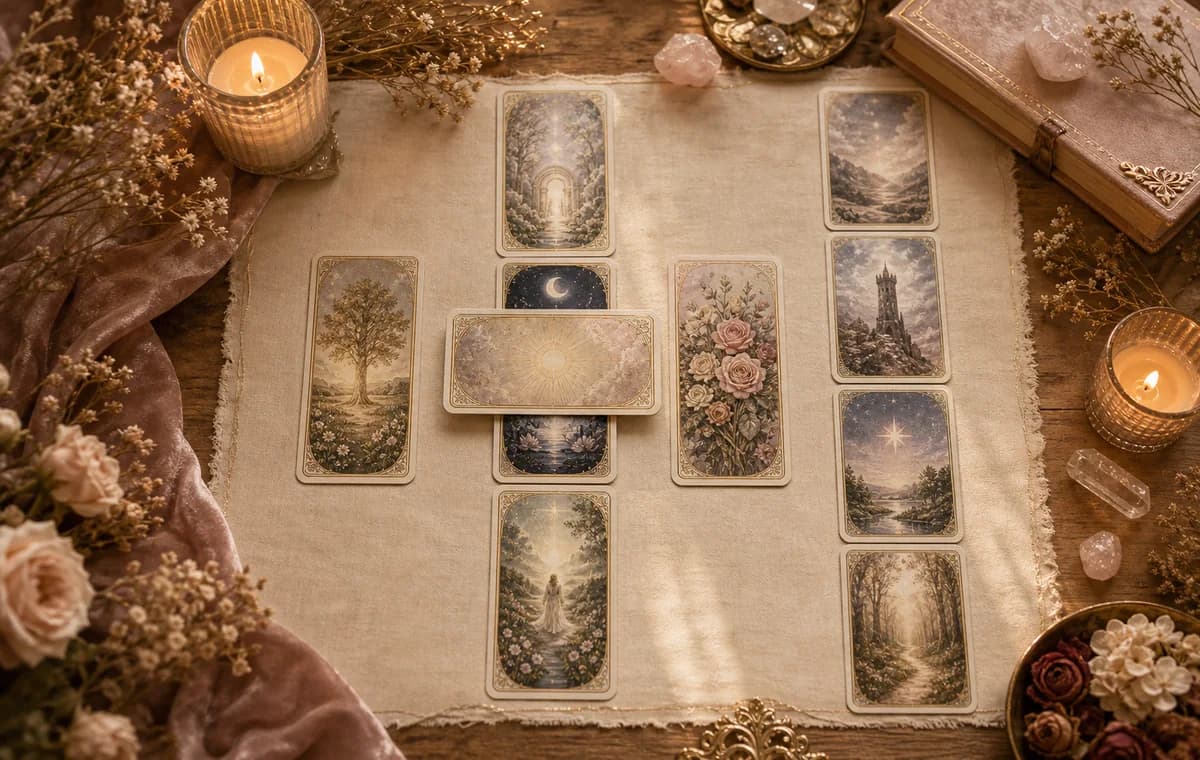
The ten cards split into two clear groups:
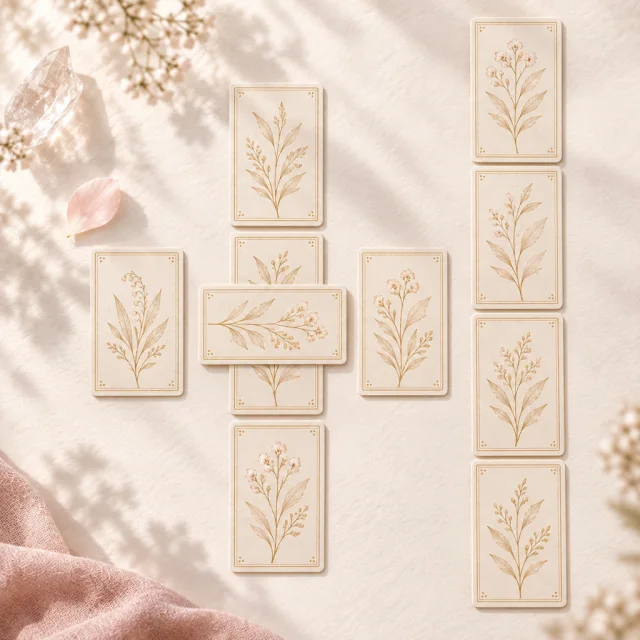
- The Cross (Cards 1–6). Six cards arranged as a cross with the first two stacked at center. This half describes the situation itself — what's happening inside the question.
- The Staff (Cards 7–10). Four cards stacked vertically to the right of the cross. This half describes the context around the situation — you, the environment, what you carry into it, what you walk out of it with.
Waite used to talk about the Cross as the "feminine" or receptive half and the Staff as the "masculine" or active half. You can take or leave that framing. The functional point is more useful: the Cross is what's going on, the Staff is what you bring to it and where it leads. Read the Cross first, the Staff second, and the relationship between the two halves often is the reading.
How to Lay the Cards
The classic sequence:
- Shuffle holding the question. A Celtic Cross takes 30–60 minutes to read well. Frame the question seriously before you start.
- Card 1 goes face up in the center.
- Card 2 goes across Card 1, rotated 90 degrees — physically crossing it.
- Card 3 goes below Card 1.
- Card 4 goes to the left of Card 1.
- Card 5 goes above Card 1.
- Card 6 goes to the right of Card 1.
- Cards 7, 8, 9, 10 stack to the right of the cross, bottom to top.
The result: a cross on the left, a vertical staff on the right, ten cards on the table.
A practical note: the card-2-across-card-1 placement means Card 2 is technically read sideways. Don't worry about upright vs. reversed for the crossing card — it's read as a force acting on Card 1, not as a card in its own orientation.
The Ten Positions in Order
Position meanings vary slightly across teachers. What follows is the version most widely taught today, with notes where significant disagreements exist.
Card 1 — The Heart of the Matter / Present Situation
The core of the question. What's actually going on at the center of it. This card sets the tone for everything else; the other nine cards orbit around it.
Card 2 — The Crossing Card / The Challenge
What crosses or opposes Card 1 — the immediate obstacle, tension, or counter-force. Importantly, "crossing" doesn't always mean negative. A positive card here can mean a force that complicates the situation by adding stakes (a wonderful opportunity that creates a hard decision is still a "challenge").
Card 3 — The Foundation / Subconscious Basis
The root of the situation. What's underneath it — the long-running condition, the conditioning, the subconscious driver. This card answers "what is this really about?"
Card 4 — The Recent Past
What's just behind the present — the event or phase that's now receding. Often the trigger that caused the question to need asking.
Card 5 — The Conscious Goal / What You're Aiming At
What you (consciously) want from this situation. The aspiration. Worth comparing to Card 3 — when conscious goal and subconscious foundation diverge, that gap itself is part of the reading.
Card 6 — The Near Future
What's likely to unfold next, given current trajectory. Short-term — days to weeks, usually. This is not the final outcome; it's the immediate next move.
Card 7 — Yourself / Your Approach
How you're showing up to the situation. Your stance, your posture, the version of yourself you've brought.
Card 8 — The External Environment
The people, conditions, and forces around the situation that are influencing it from outside you. What the world is doing to or for you.
Card 9 — Your Hopes and Fears
What you're hoping will happen and what you're afraid will happen — held together in one card, because in practice they're rarely separable. (More on why this position is the real key below.)
Card 10 — The Outcome
The most likely culmination of the situation if the present trajectory continues. Not destiny. The Tower here doesn't mean a disaster is fated; it means the current path leads to upheaval and you should treat the spread as a warning.
Treat Card 10 as advice, not verdict. If you don't like what it shows, look at Card 7 (your approach) — that's the lever you can move.
Why Position 9 (Hopes & Fears) Is the Real Key
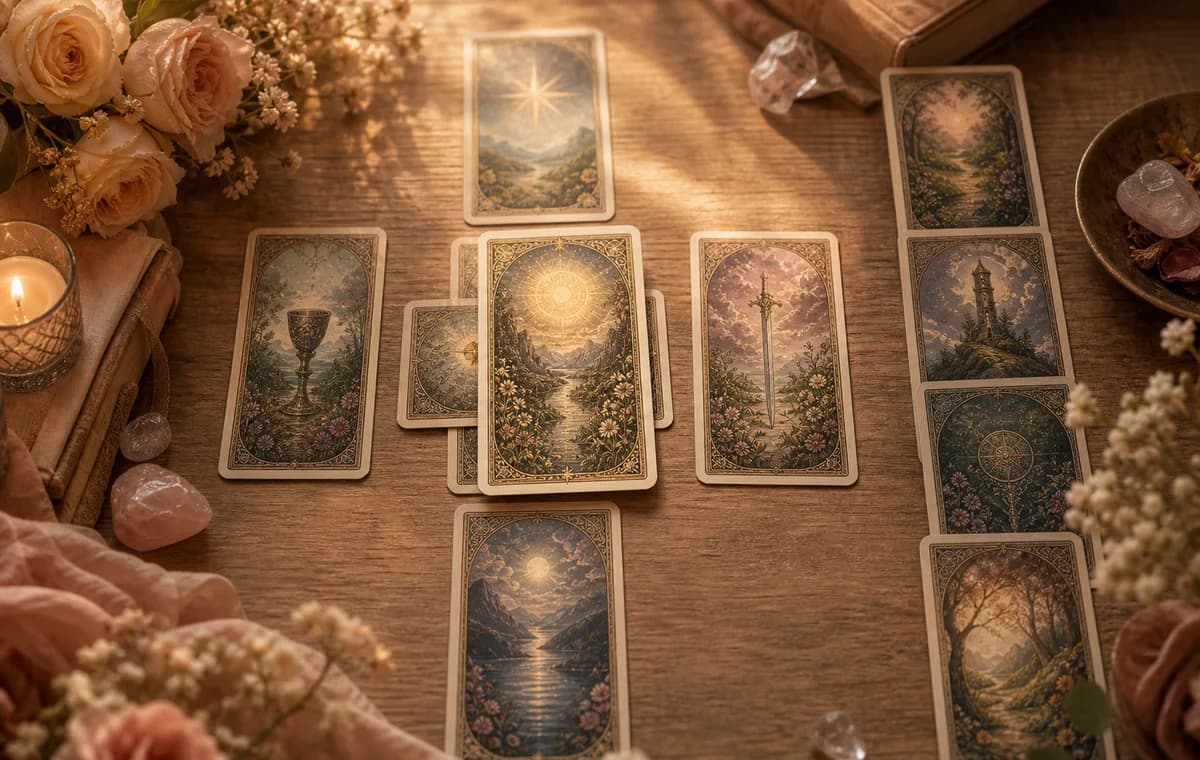
Most Celtic Cross guides skip past Card 9 with a single sentence: "your hopes and your fears." That treatment misses what the position is actually for.
The reason hopes and fears occupy a single position — rather than being split into two — is that they're the same psychological substance. Whatever you most hope will happen, you also most fear won't. Whatever you most fear, you secretly half-hope for (just so you can stop bracing for it). Card 9 names that knot.
Why does this matter? Because once you can see the knot clearly, the rest of the spread reorganizes around it. Card 7 (your approach) is often a response to Card 9 — you're posturing the way you're posturing because of what you secretly hope or fear. Card 10 (the outcome) is often shaped by Card 9 too, because what we expect tends to be what we produce.
So here's the practical move: after laying out all ten cards, read Card 9 second to last (just before Card 10), and use it as a lens for re-reading Cards 7 and 10. Often you'll find the outcome card was already implied by the hopes-and-fears card, and the gap between the two is the real message.
This isn't an idiosyncratic reading. It's there in Waite. It's just that most modern guides reduce Card 9 to a one-liner, and the depth gets lost.
The Disputed Positions: 3, 5, and 6
If you've read more than one Celtic Cross guide, you've probably noticed that Cards 3, 5, and 6 aren't always in the same place. This isn't error — it's a real disagreement that goes back to Waite's own ambiguity.
Three common variants:
- The modern standard (the one used above): Card 3 is below (foundation/subconscious), Card 5 is above (conscious goal), Card 6 is to the right (near future).
- The Waite variant: Cards 5 and 6 swap, so what's above is "what crowns you" (possible outcome or aspiration) and what's to the right is "what's before you" (what's coming). Functionally similar but the time-frame shifts.
- The Golden Dawn variant: Cards 3 and 5 swap, putting the conscious goal below and the subconscious foundation above. This inverts the symbolism (heaven = conscious, earth = subconscious) compared to the modern standard.
What to do about this: pick one and use it consistently. The cards will adapt to whatever convention you commit to — what they don't tolerate is you switching mid-reading because you don't like what one position is showing. Most modern readers use the version I've laid out above; if you learned a different one and it works for you, keep it.
How to Actually Read the Spread
Sequence matters. Almost every bad Celtic Cross reading I've seen — including my own early ones — went wrong because the reader tried to interpret Card 1, then Card 2, then Card 3, in isolation, like checking off a list. By Card 7 they'd lost the thread, and Card 10 sounded like a non-sequitur.
A better order:
- Look at the whole spread without naming any card. Sit with the visual gestalt for thirty seconds. Notice the suit distribution. Notice the major/minor balance. Notice colors and gestures. This pre-reading impression is data.
- Read Cards 1 and 2 as a pair. They literally cross each other on the table. The relationship between them — situation and challenge — is the spine of the reading.
- Read Cards 3 and 5 as a pair. Subconscious foundation vs. conscious goal. The gap is often the reading.
- Read Cards 4 and 6 as a pair. Recent past flowing into near future, with the central cross as the pivot.
- Switch to the Staff. Read Cards 7 and 8 as a pair. You and your environment.
- Read Card 9 carefully. This is where I slow down. Spend more time here than the position seems to deserve.
- Read Card 10 last, through Card 9's lens. What does the outcome look like in light of what you hope and fear?
- Compare Card 7 (your approach) with Card 10 (outcome). If you don't like Card 10, Card 7 is the leverage point.
Reading the Celtic Cross well isn't about knowing 78 card meanings. It's about reading the relationships between positions.
When Not to Use the Celtic Cross
The Celtic Cross is over-used. It's the famous spread, so people reach for it by default — and end up with ten cards on a question that needed two.
Skip the Celtic Cross when:
- The question is single-thread. "Should I send this email" doesn't need ten cards. A three-card or even one-card spread is more accurate because there's less noise.
- You're emotionally activated. A ten-card spread when you're upset turns into a Rorschach test for your current mood. Pull one card, sit with it, come back to the Celtic Cross another day.
- You're asking for someone else without their consent. The Celtic Cross is intimate. Ten cards' worth of speculation about a person who didn't ask is a lot of speculation.
- You're going to re-read it tomorrow. Celtic Crosses don't refresh well. If a situation is moving fast, use a smaller spread that can move with it.
Use the Celtic Cross when the situation is layered — when there's a conscious story and a subconscious one, an internal state and an external pressure, hopes and fears all tangled together — and you genuinely don't know which thread is the real one. That's what the spread was designed for, and that's where it earns its hour of attention.
Common Mistakes
A few patterns to watch for, drawn from my own early reading practice and from readings I've seen others do:
Reading position by position in isolation. Already covered — the worst single mistake. The Celtic Cross is a system of relationships, not a checklist.
Treating Card 10 as fate. It's a forecast based on current momentum. Change the momentum, change the outcome. The whole reason to do the reading is so something can change.
Ignoring Card 9. Already covered, but it bears repeating. Hopes and fears is the key position; treat it that way.
Mixing up upright and reversed for Card 2. Card 2 is physically crossing Card 1, often laid sideways. Don't try to read it as upright or reversed in the usual sense — it's read as a force acting on Card 1, full stop.
Pulling clarifier cards immediately. If a position confuses you, sit with it before you pull more cards. Most "confusing" positions in a Celtic Cross are confusing because they don't fit the story you wanted, not because the card was unclear.
Re-shuffling for a "better" outcome. The cards aren't a slot machine. If you don't like the outcome card, the reading is asking you to look at Card 7.
Frequently Asked Questions
Is the Celtic Cross actually Celtic?
No. The spread was published by Arthur Edward Waite in The Pictorial Key to the Tarot (1911) and emerged from the Hermetic Order of the Golden Dawn in late Victorian London. The name was a marketing choice — borrowing the imagery of medieval Irish ringed crosses to give the spread a sense of spiritual lineage. The actual tradition is late 19th / early 20th century English occult revival.
How long does a Celtic Cross reading take?
A good one takes 30–60 minutes. If you're reading it in under ten minutes, you're not reading the relationships between positions — you're reading the cards as a list. Slower is better here.
Is the Celtic Cross too hard for beginners?
Not exactly. Beginners can absolutely lay out and read the Celtic Cross. The reason most beginners struggle isn't the difficulty of the spread — it's that they don't yet have the muscle for reading cards in relationship to each other. Practice three-card spreads first to build that muscle. The Celtic Cross is the same skill, scaled up.
What if I get a "bad" outcome card?
Treat it as advice, not destiny. The outcome card shows where the current path leads. Then look at Card 7 (your approach) to find the leverage point that could change that trajectory. If the outcome is The Tower, you've been warned — change something now.
Can I use the Celtic Cross for yes/no questions?
You can, but it's overkill and usually unsatisfying. A spread designed for layered, multi-thread questions doesn't compress well to a binary. If you genuinely need a yes/no, pull one to three cards. Save the Celtic Cross for "what's actually going on here" questions.
What's the difference between the Celtic Cross and a three-card spread?
The three-card spread asks "what's the story here?" The Celtic Cross asks "what are all the layers underneath what I think is happening?" Different jobs. Use a three-card spread when the question is single-thread; reach for the Celtic Cross when the situation has multiple layers in play.
Should I journal my Celtic Cross readings?
Yes — more so than any other spread. Ten cards is too much information to remember in detail a week later, and the Celtic Cross specifically rewards going back to old readings after the situation resolves to see what each position was actually pointing at. A reading you don't journal is a reading you can't learn from.
Conclusion
The Celtic Cross is a hundred-year-old designed system — not an ancient inheritance — that survives because, when used on the right question, it does something no smaller spread can do. It lays out the situation, the challenge, the conscious and unconscious sides, the past and the near future, you and your environment, your hopes and fears, and the trajectory — all at once, on one table, in one hour.
What separates a good Celtic Cross reading from a bad one isn't card knowledge. It's the discipline to read positions in relationship to each other instead of in isolation, the patience to sit with the hopes-and-fears card properly, and the honesty to treat the outcome card as advice rather than as fate.
Pull it for the right question, give it the hour, and read the relationships. That's the whole craft.
Want a faster reading first? Start with our Three-Card Tarot Spread Guide. New to tarot entirely? Begin with the Tarot Beginner's Guide. And if you'd like to try a Celtic Cross right now, our AI tarot tool can lay one out and walk you through the positions.